19 October 2026 · 6 min read
How to Repot a Bonsai Tree: Timing, Roots, Soil and Aftercare
Plan your next repotting: when to do it, how to read and trim the roots, which soil mix to use and how to care for the tree in the weeks afterwards.
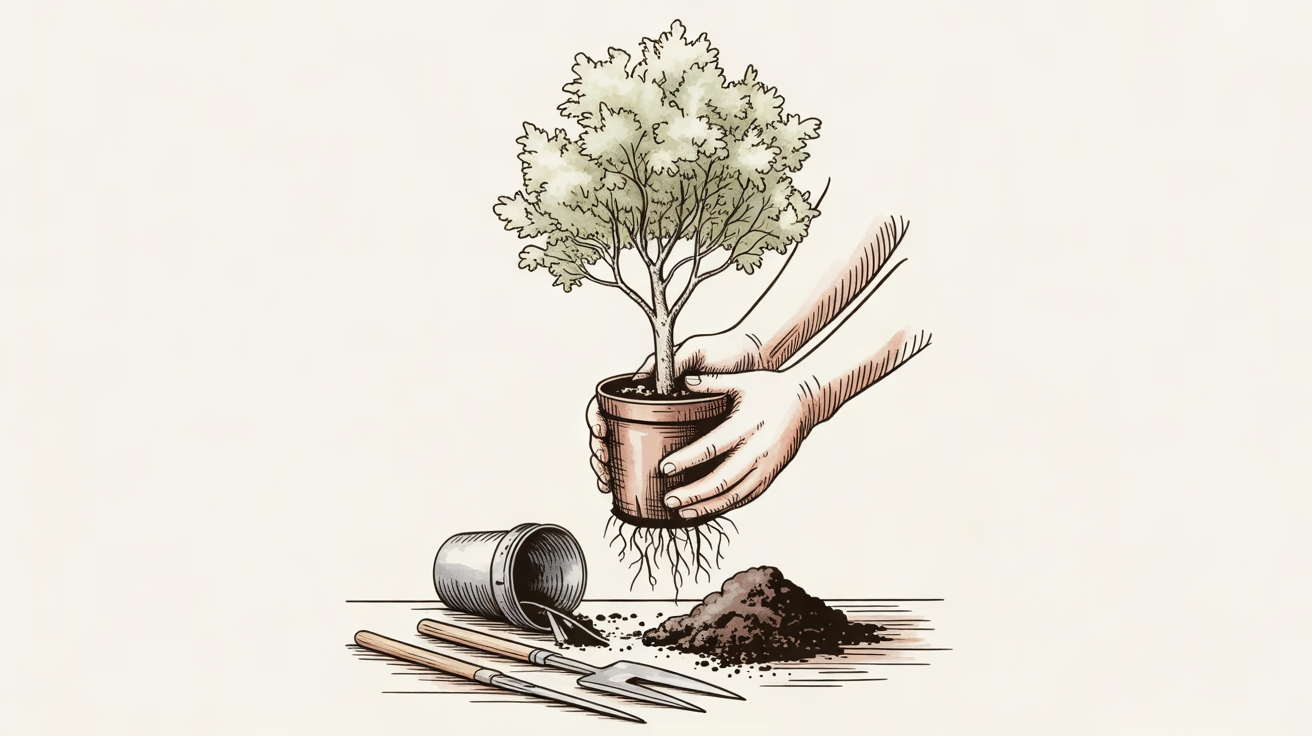
Repotting a bonsai is mainly about replacing tired soil and trimming the roots so the tree can keep growing in a small container. The timing matters as much as the technique. A tree repotted at the wrong point in the year, or stripped of too many roots, struggles to recover. This guide covers the season to choose, how often to repot, how to handle roots and soil, and what to do once the tree is back in its pot.
When to repot
Most advice points to the short window at the end of the dormant period. One recommendation is early spring, while the tree is still dormant and its buds are beginning to swell. Another places the best moment slightly earlier, in late winter around mid-February, just before the growing season begins.
Both recommendations rest on the same logic. A freshly repotted tree has lost part of its root system and needs to send out new roots quickly to recover. In the depths of winter it cannot do that, and in summer conditions are too dry and hot. For that reason growers are told never to repot a bonsai in summer or winter.
There is one exception to the spring-only rule. Indoor bonsai are often sold in water-retentive organic soil, which can cause root rot. These trees should be moved into proper bonsai substrate, and early spring or autumn are both suitable times to do it.
How often to repot
Frequency depends on the age of the tree and how fast it grows. Young trees fill their pots with roots quickly, while mature trees slow down. One guideline is to repot young bonsai about once a year and older ones up to every three years. Another suggests every one to two years for trees up to 10 years old and every three to five years for mature trees.
A similar split appears in advice framed around growth rate. Fast-growing bonsai may need repotting every two years or sooner, and older mature trees every three to five years. Species also makes a difference, as the table below shows.
| Type of tree | Suggested repotting interval |
|---|---|
| Fast-growing species and young bonsai | Every year |
| Fruiting and flowering trees | Every year |
| Other deciduous trees | Every 2–3 years when young, then every 3–4 years |
| Conifers | Every 3–4 years when young, then every 5–6 years and up to 8 years when old |
These intervals are a starting point for a care plan rather than a fixed calendar. Many growers keep a journal for each tree and record when it was last repotted. The roots themselves give the clearest answer.
Signs that a tree needs repotting
The most reliable test is to lift the tree gently from its pot in early spring and look at the root ball. If roots are circling around the root mass, or tangling at the surface of the root ball, the tree needs repotting. If they are not, it can go back into its pot for another season.
There are also signs you can see without removing the tree. Roots growing out of the drainage holes are one. Compacted soil that drains poorly, with water sitting on the surface after watering, is another.
Choosing the soil
Use a potting medium made for bonsai, not ordinary potting soil. Ordinary potting soil should not be used at all. Bonsai substrates are chosen for drainage, and they keep air around the roots.
A general-purpose mix is akadama, pumice and lava rock in a 1:1:1 ratio. You can adjust it to suit your conditions. More akadama makes the mix hold more water. More lava rock makes it drain faster, which is useful in humid climates.
Akadama, kanuma and kiriu are Japanese bonsai substrates. They drain well but contain no nutrients. A slow-release fertiliser is therefore recommended once the tree is ready to be fed.
Some species have specific needs. Conifers need a very well-draining, slightly acidic mix, for example 60% river sand, 20% akadama and 20% composted bark. Azaleas suit a mix of 80% kanuma and 20% akadama.
Choosing the pot
Repotting does not require a larger pot. The main purpose is to replace the soil, and a mature bonsai should stay in a pot of the same size. Keeping the container small is part of what keeps the tree in proportion.
If you do decide on a new container, for instance for a younger tree still being developed, choose one only slightly larger than the old one. A large jump in pot size works against the aims of bonsai.
Handling the roots
Root pruning is the step that most affects how well the tree recovers. Not every root does the same job. The active roots are the small white roots at the outer edge of the root ball, and these are the ones that take up water. Larger roots that have no small white roots at their ends can be cut.
Advice on how much to remove varies a little. One approach is to remove at least a quarter of the root length on the sides and bottom, without cutting off the largest roots. Another is to prune about one-third of the roots, focusing on dead, rotting or tangled ones. Taking more than a third shocks the tree and stunts its growth.
Do not try to remove all the old soil. Leaving some in place protects the fine roots. Throughout the process, keep the roots from drying out by misting them and working out of sun and wind. Exposed fine roots dry quickly, and damaged roots slow recovery.
Step-by-step technique
The routine below brings these points together. Prepare your soil, pot, tools and a mister before you start so the roots spend as little time exposed as possible.
- Stop watering a few days before repotting. A drier root ball is easier to remove from the pot.
- Set up your work area out of direct sun and wind, and keep a mister to hand.
- Lift the tree out and inspect the roots for circling, tangling or compacted soil.
- Remove dead, rotting and tangled roots, and shorten the sides and bottom of the root ball. Keep the largest roots and avoid taking more than about a third.
- Place a drainage layer of gravel or mulch in the bottom of the pot.
- For larger trees, thread wire such as galvanised copper up through the drainage holes so it can be tied around the larger roots later.
- Set the tree in position and tie it in place if you are using wire.
- Add fresh soil and work it in between the roots with a chopstick or brush to remove air pockets.
- Water thoroughly to settle the soil, for example by soaking the pot in a basin or pan of water.
Anchoring with wire matters most for larger trees. A tree that rocks in its pot disturbs the new roots as they try to grow into fresh soil.
Aftercare
Once repotted, keep the bonsai in partial shade or indirect sunlight for at least two weeks. The reduced root system cannot yet supply as much water as before. After that period, return the tree to direct sun gradually rather than all at once.
Wait about 4–6 weeks before fertilising. Freshly pruned roots need time to regrow before they can take up feed. Because Japanese substrates such as akadama hold no nutrients, a slow-release fertiliser is a sensible choice when you do begin.
Bringing it together
A good repotting comes down to a few decisions. Repot as dormancy ends, in late winter or early spring, and never in summer or the depths of winter. Let the roots and the species guide how often you do it.
Use a free-draining bonsai mix rather than ordinary potting soil, and keep the pot the same size or only slightly larger. Trim roots with restraint and keep them moist while you work. Then give the tree a few shaded weeks to settle. Recording each repotting in a journal makes the next one easier to time.
Sources
This article was written from the reporting below.
- bonsaiempire.com — Repotting Bonsai, how to repot your tree - Bonsai Empire
- bonsaioutlet.com — How to Repot a Bonsai Tree, Step by Step | Bonsai Outlet
- nature-and-garden.com — How to repot a bonsai: when, soil mix and steps
- mybonsaiworld.com — How To Repot A Bonsai Tree Safely Without Stressing It Out
Generated with sources · reviewed by a human: yes · Approved by mariofilk, 16 Oct 2026 · Sourcing policy